Here's a step-by-step tutorial on using Hyper's web uploader to manage all your avatar assets:
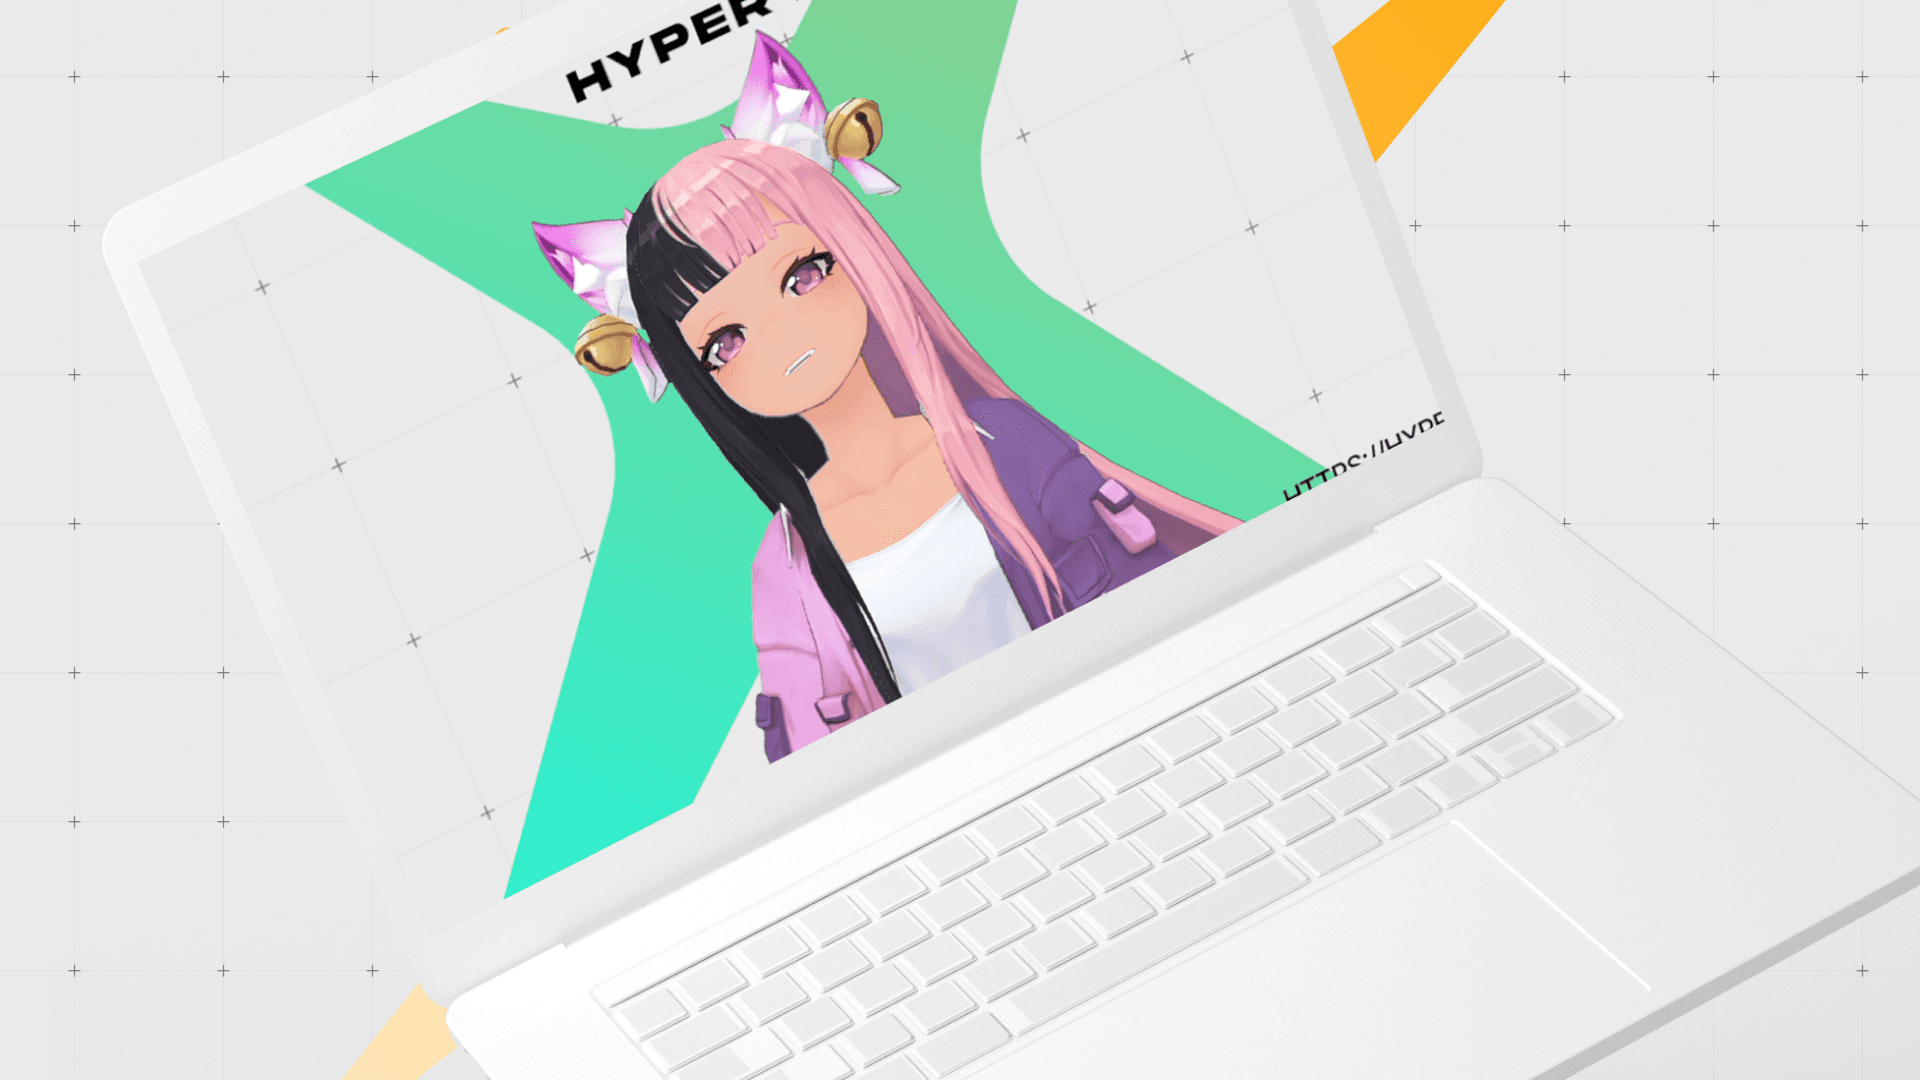
1. Visit the Hyper home page at https://hyper.online.
2. If you haven't signed up yet, create an account.
3. After signing up, go to the sidebar and click on "My Assets".
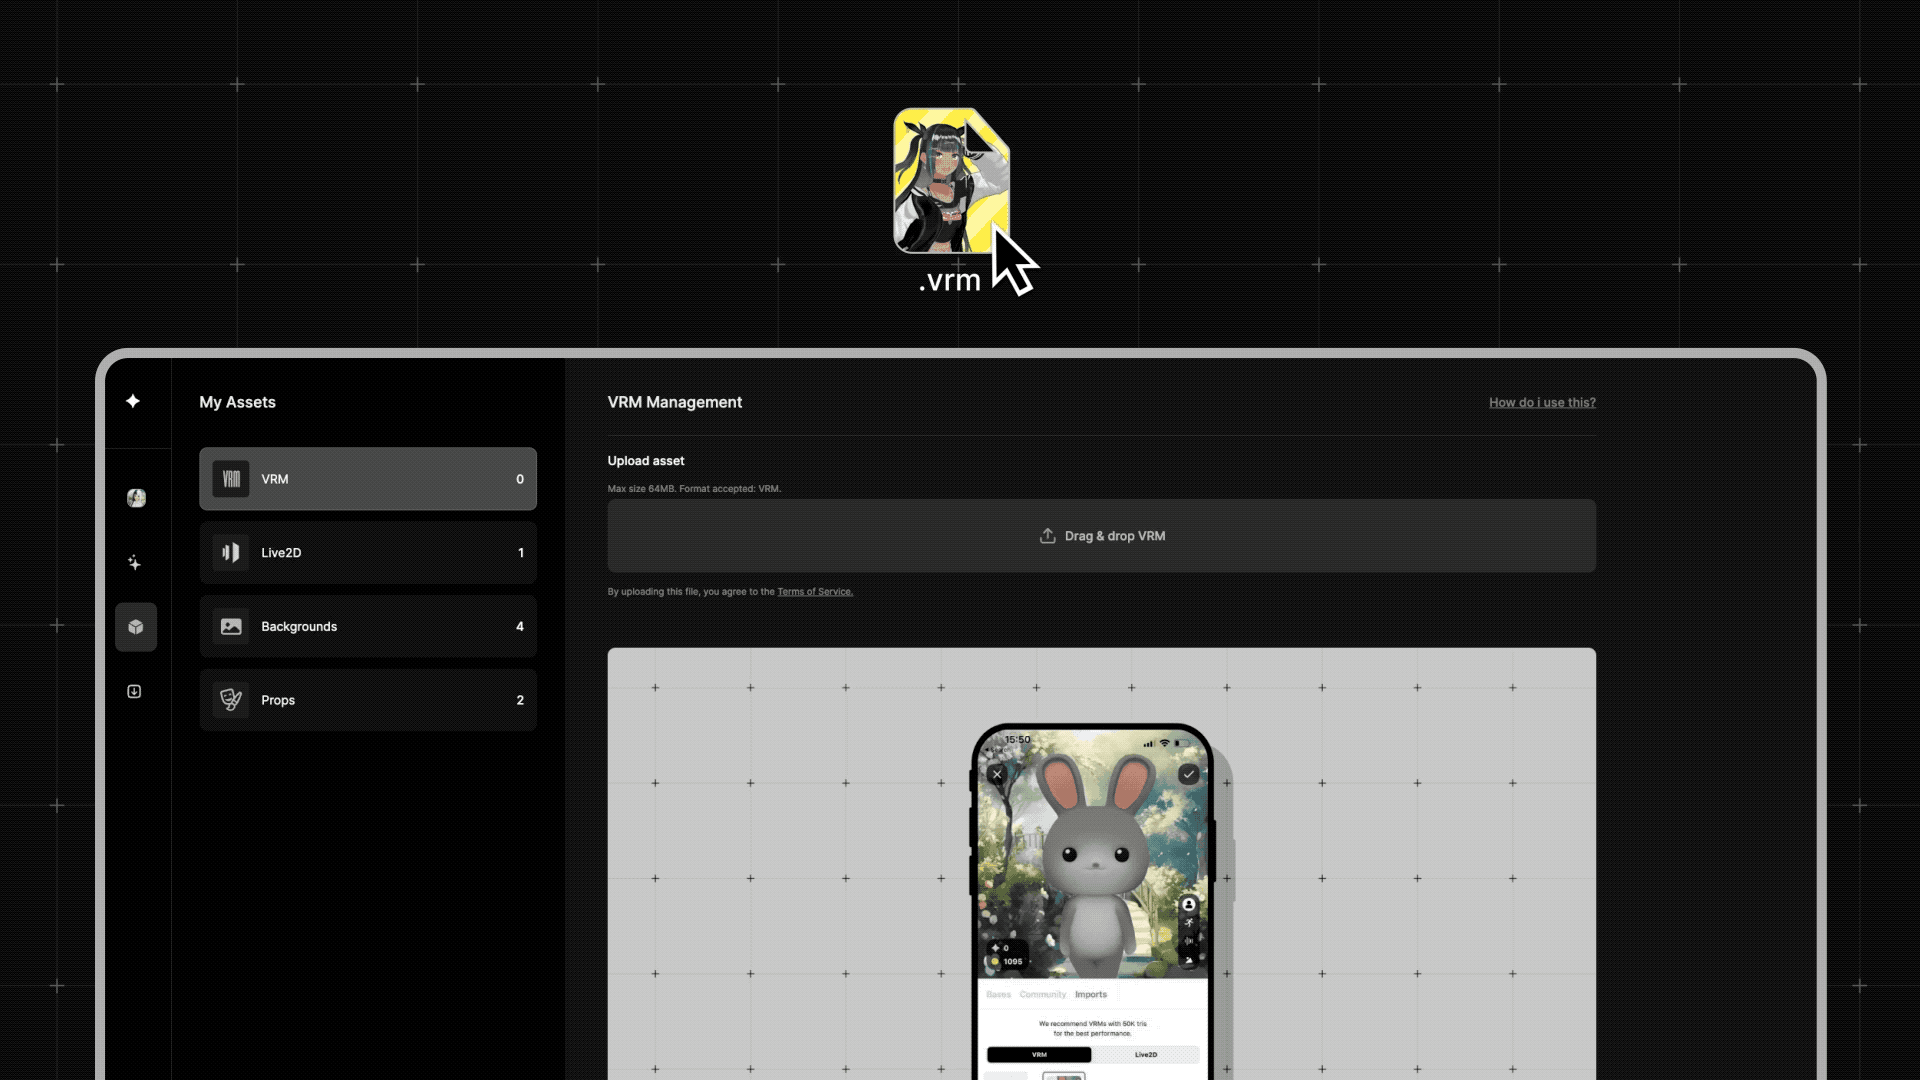
4. From here, you can upload various assets such as imported characters as "VRMs", "Live2D" models, "Backgrounds", "Props", and more.
5. Locate the file you want to upload on your desktop, ensuring it's compatible with Hyper. If it's a VRM file, refer to our VRM guide for compatibility information. Additionally, backgrounds and props have specific size limitations, so double-check that too.
6. Simply drag and drop the file to the appropriate area and wait for it to upload.
7. Once uploaded, your file will be synced to your Hyper account. You can verify this on your phone.