Welcome to Hyper! We're an avatar social network that makes it easy for VTubers (Virtual YouTubers) to make videos and live-stream using avatars. Hyper uses motion capture to bring your vtuber to life with realistic facial animations and a suite of tools for beginners and professionals. Record and post on our app, or export your avatar through OBS (Open Broadcasting Software) if you have a preferred desktop setup.
Hyper already lets you become a vtuber with just your phone, but with the Hyper OBS Plugin, you can easily get your Hyper avatar into your desktop OBS Scene so you can use your Windows device for Vtubing, joining Discord video calls, and streaming with your professional OBS setup.
This guide will teach you how to use Hyper’s OBS plugin to mirror your avatar on Hyper to your Windows computer. It assumes you already have a basic understanding of OBS, Hyper, and just need to set up the OBS plugin.
If you need a more general overview of OBS, check out our other guide here: Live-streaming with avatars using OBS.
Using Hyper’s OBS Plugin for Windows for Vtubing

macOS Support
If you’re on macOS, you don’t need the OBS Plugin. macOS will detect the phone as a video input.
Just plug it in with a USB cable, add your phone in OBS’s Sources panel as a Video Capture Input source, configure your scene, and you’re good to either stream, or enable the Virtual Webcam feature on OBS.
⚠️ Always download Hyper's OBS plugin from an official source for safety. SHA256 Checksums obs-hyper-plugin-0.0.1-windows-x64.zip: 7c074aa5c385f0025c75b387f4cb0a7c38b83d387d0652a1a81604d7f520a732
Download zipped plugin for Windows: here.
Requirements
- Windows 10 & Above
- OBS 29.02 & Below (29.1 & above will not work): Download
- Hyper for iOS: Download
- Hyper for OBS Plugin: Download
- A lightning cable and at least a USB 2.0 port.
Installation Instructions
1. Set up your computer.
- Install iTunes for Windows.
- Once iTunes is installed, launch iTunes, plug in your phone, unlock your phone, and mark your computer as a trusted device when your phone asks you to confirm.
- This process only needs to be done once to allow your iOS device to communicate with your PC.
2. Install the plugin.
⚠️ Since this a new plugin, Windows might warn you that it hasn't seen this file much before. This is just because it's new, and it's safe to install.
- Download the zipped plugin named obs-hyper-plugin-0.0.1-windows-x64 above and unzip it.
- The package you downloaded should contain two folders:
a folder named obs-plugins
- and a folder named data
- Copy both of these folders to C:\\Program Files\\obs-studio\\ and say yes when it asks to overwrite files. It will not actually overwrite anything, it’s just merging the folders with the same names.
You can do this by double clicking My Computer, then double clicking your primary drive, usually C:\\
- Look for Program Files and double click it, NOT in Program Files (x86). then look for obs-studio and double click that. This plugin is not compatible with x86 versions of obs-studio.
- From here, simply drag or copy those two folders into this folder.
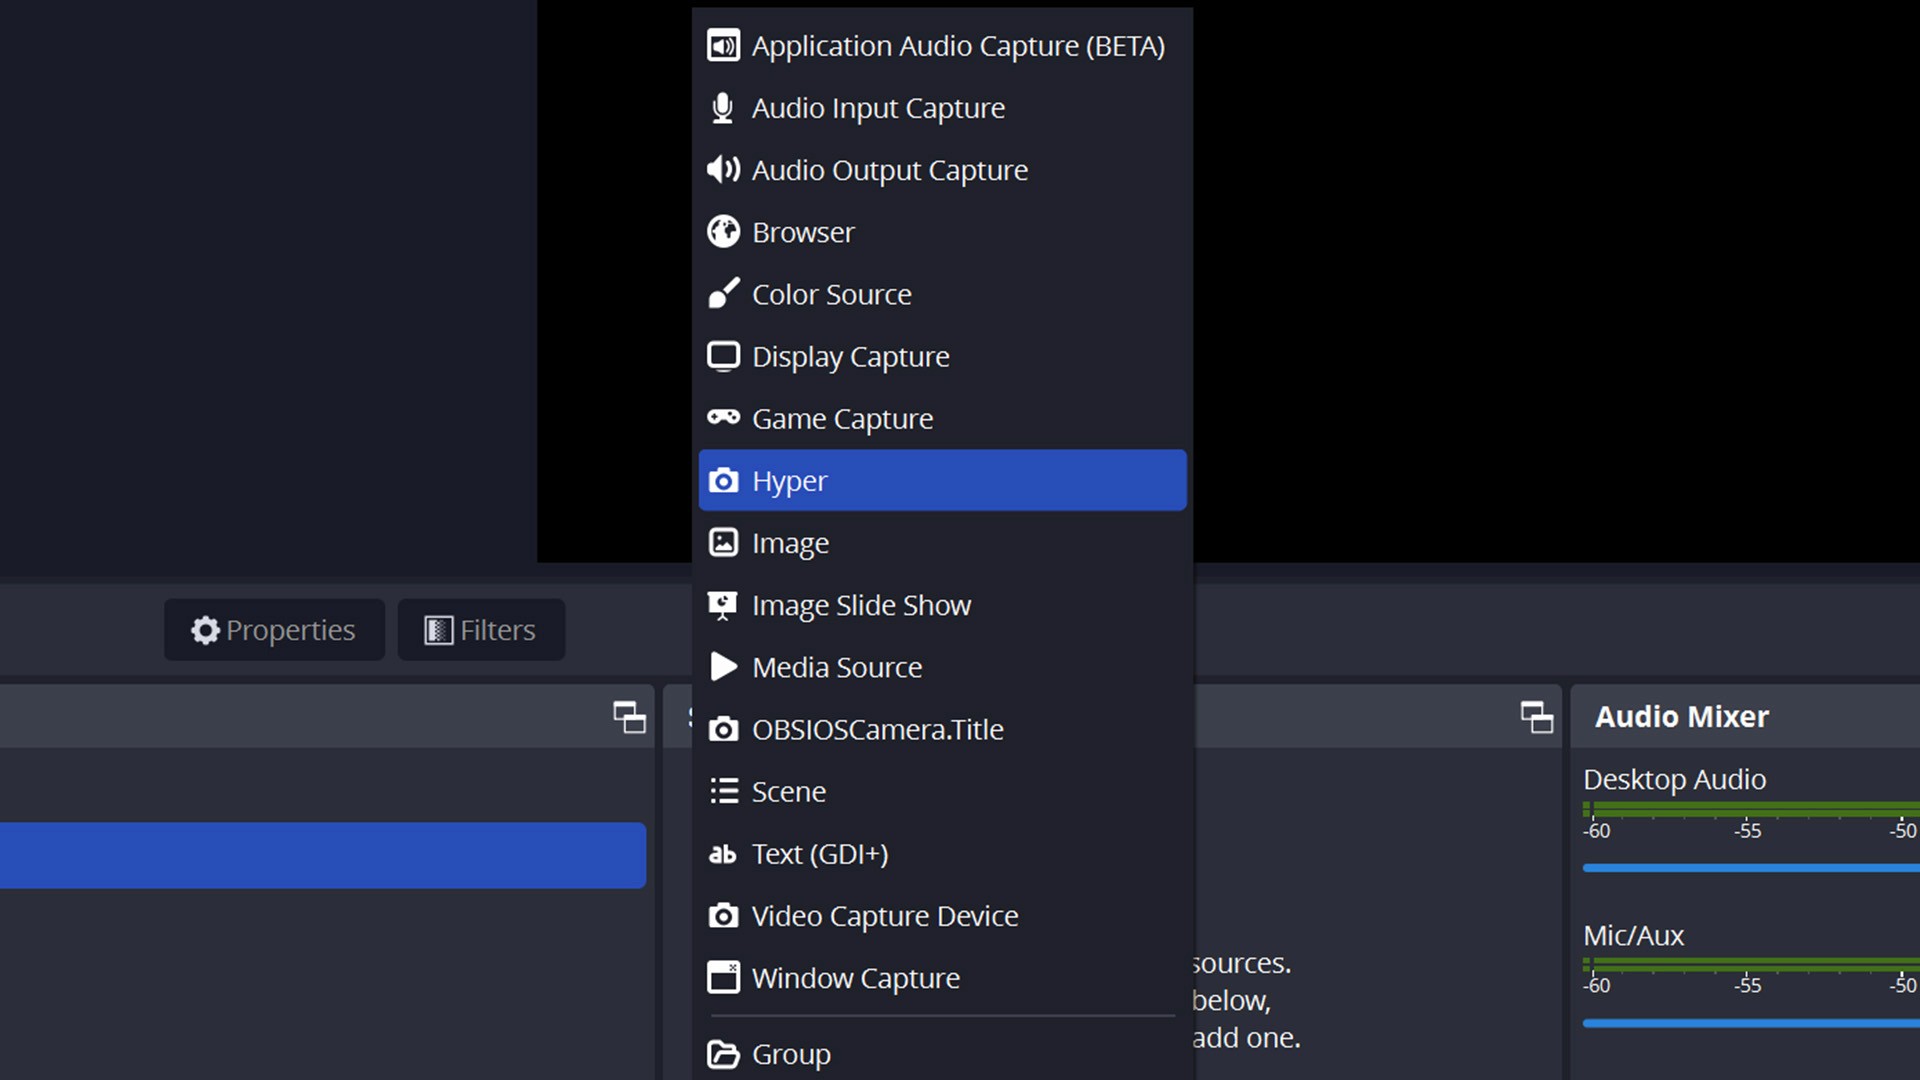
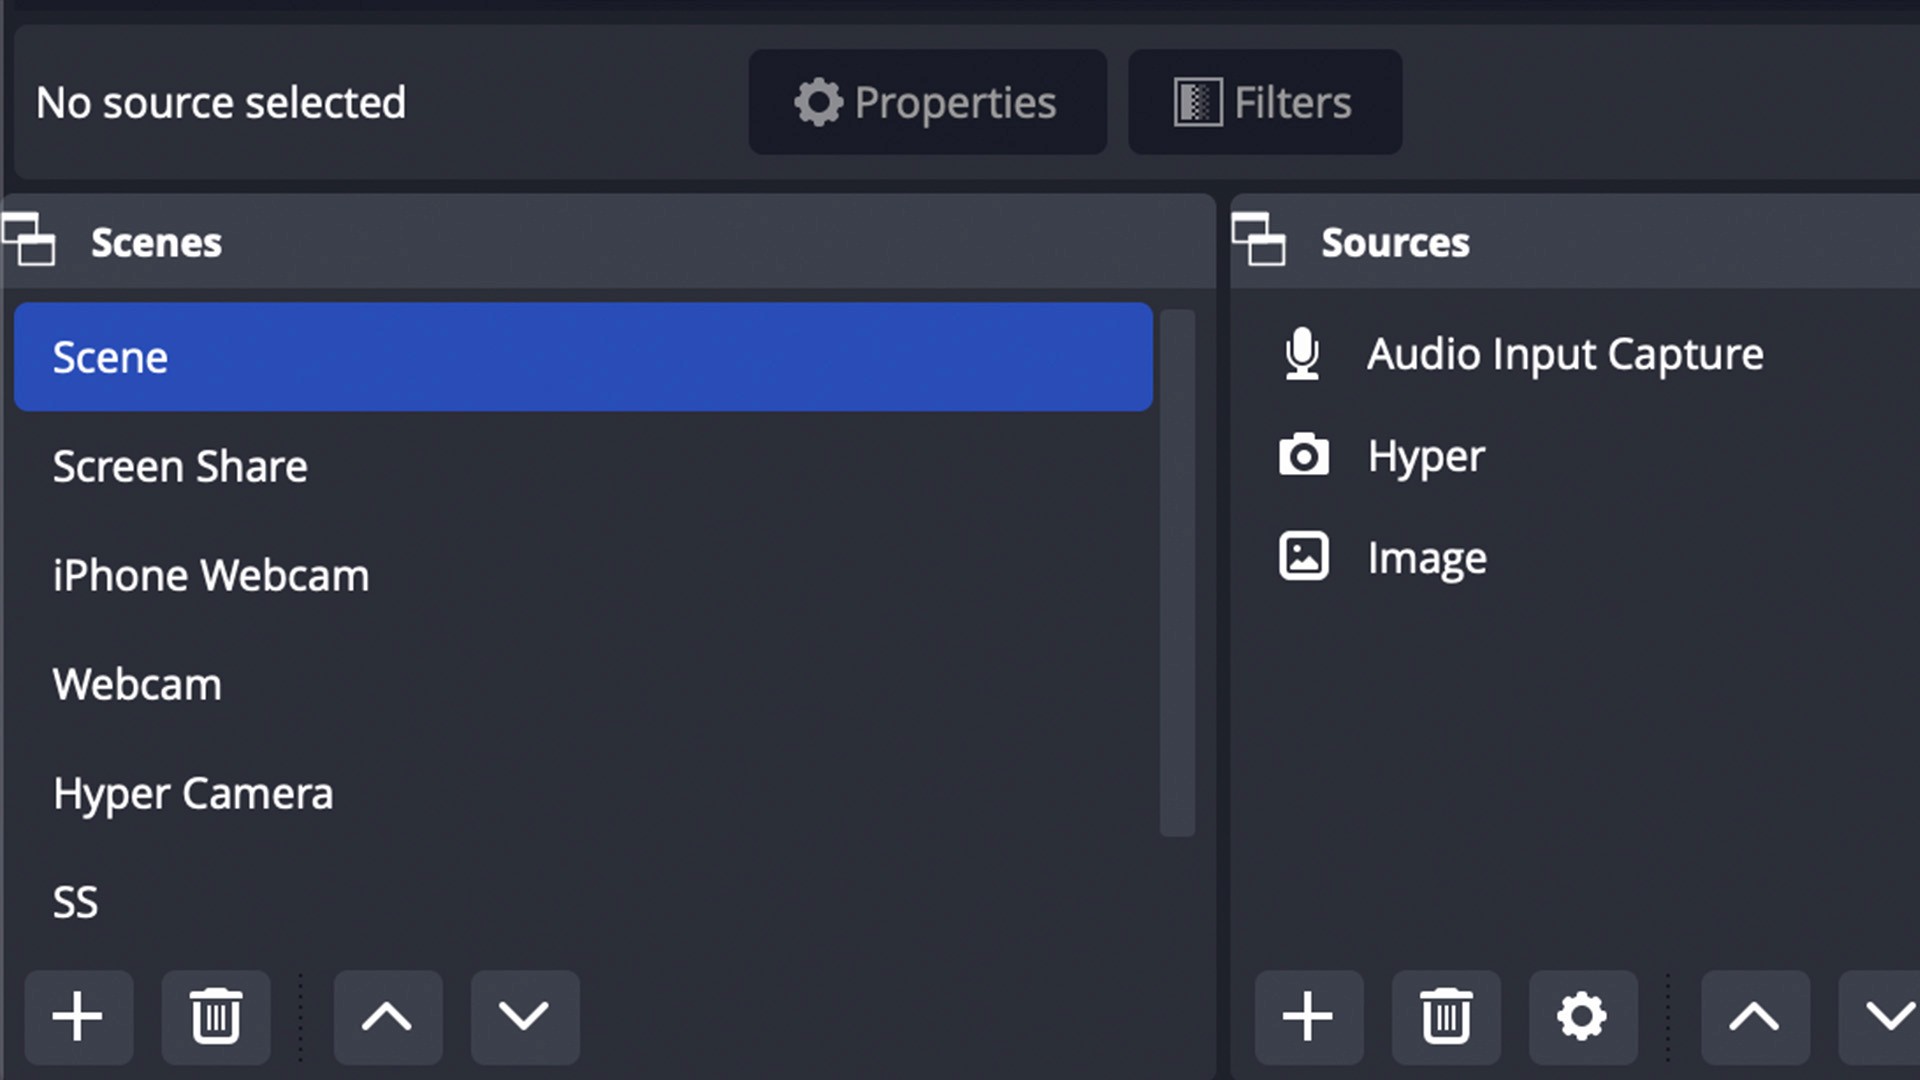
- Launch OBS studio and you should see Hyper as a Source. If you don’t see it, try re-launching it.
- Hyper should show up as a source if you’ve installed the plugin correctly. If it’s not showing up, make sure you’re on compatible versions of OBS, Windows, and try following the steps again.
The package you downloaded should contain two folders:
- a folder named obs-plugins
- and a folder named data
Copy both of these folders to C:\\Program Files\\obs-studio\\ and say yes when it asks to overwrite files. It will not actually overwrite anything, it’s just merging the folders with the same names.
You can do this by double clicking My Computer, then double clicking your primary drive, usually C:\\
Look for Program Files and double click it, NOT in Program Files (x86). then look for obs-studio and double click that. This plugin is not compatible with x86 versions of obs-studio.
From here, simply drag or copy those two folders into this folder.
- You can do this by double clicking My Computer, then double clicking your primary drive, usually C:\\
- Look for Program Files and double click it, NOT in Program Files (x86). then look for obs-studio and double click that. This plugin is not compatible with x86 versions of obs-studio.
- From here, simply drag or copy those two folders into this folder.
Launch OBS studio and you should see Hyper as a Source. If you don’t see it, try re-launching it.
Hyper should show up as a source if you’ve installed the plugin correctly. If it’s not showing up, make sure you’re on compatible versions of OBS, Windows, and try following the steps again.
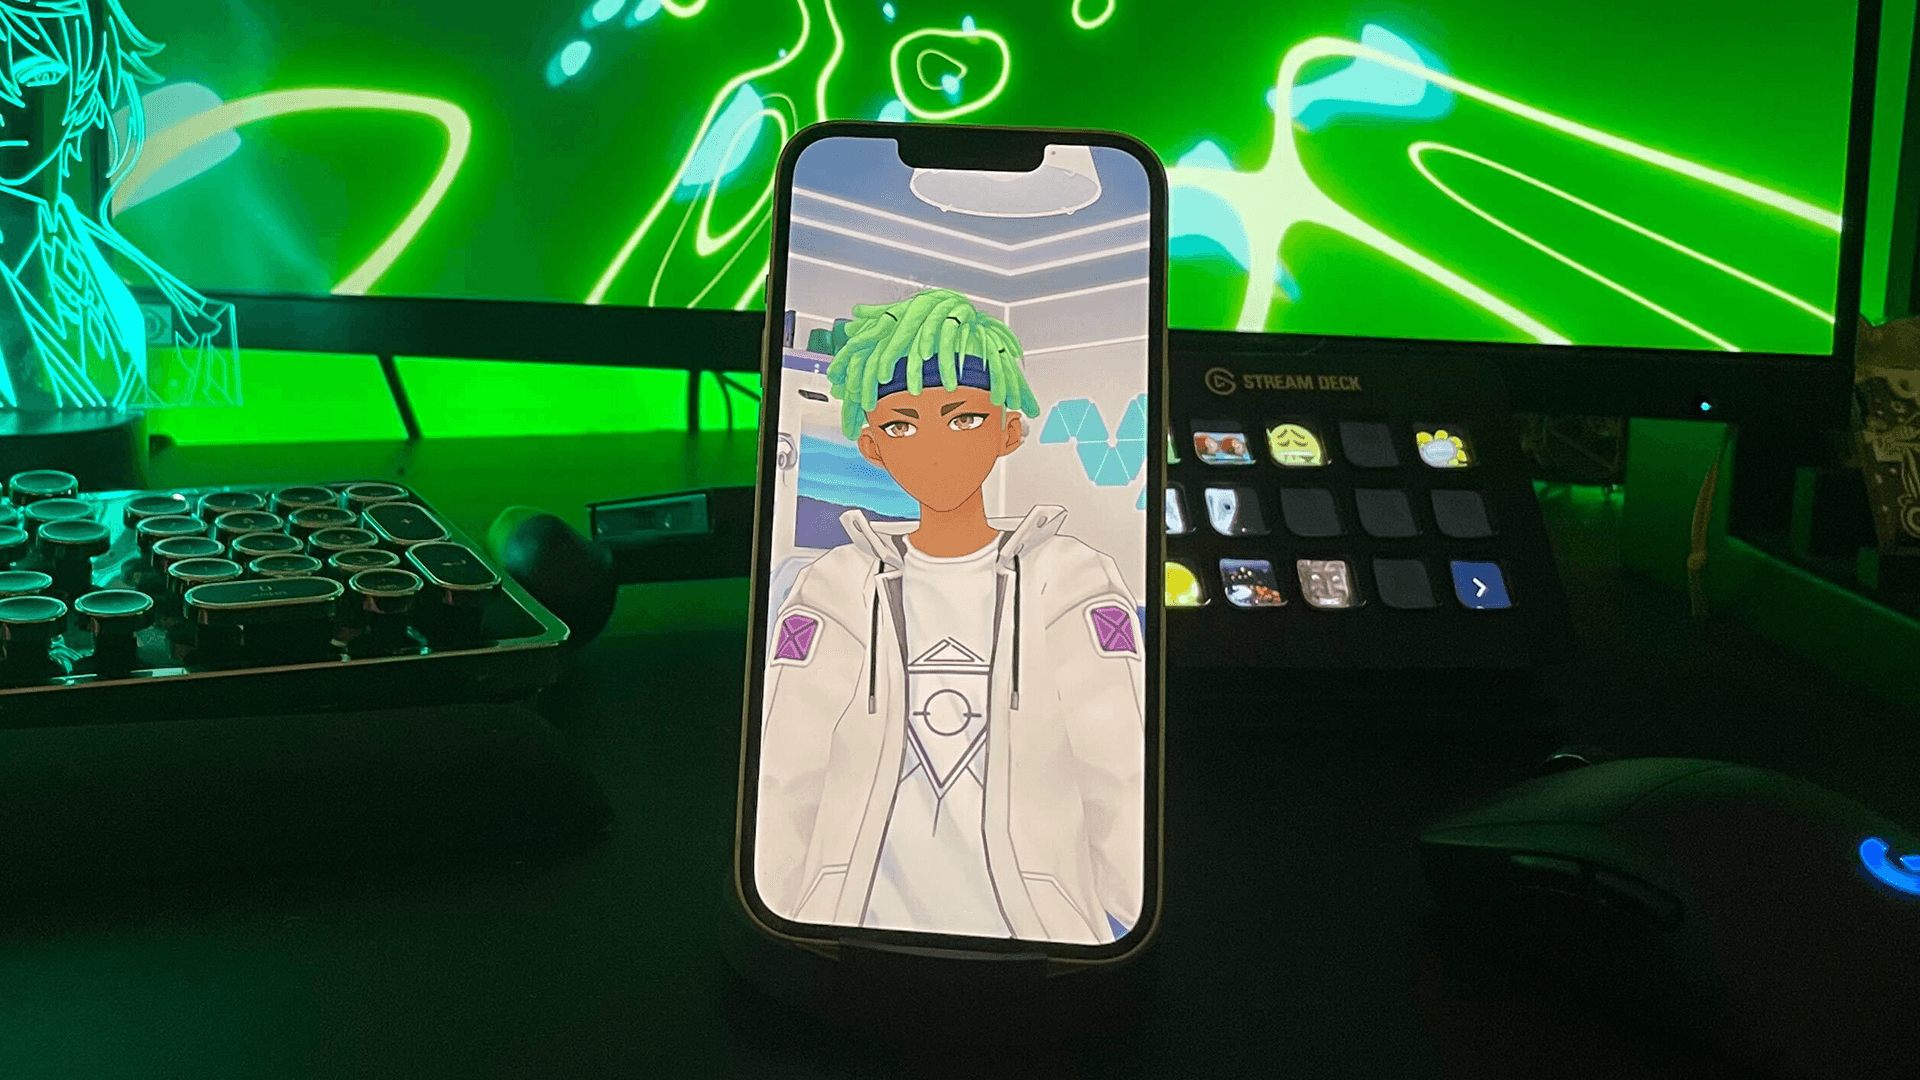
- Plug in your iOS device and unlock it if you haven’t already.
- Launch Hyper for iOS and go to OBS Mode located in the bottom creation toolbar.
- Hit Setup OBS to see the configuration options. Set up your green screen background and more.
- With OBS launched and the iOS device plugged in, enable the OBS plugin under the OBS Plugin section in the configuration menu.
- Hit Save to hide the UI (shake your phone to re-show the UI).
- Adjust your vtuber in the scene to look how you want it to.
- Add a Chroma Key on OBS to filter out the green screen background.
- Or, press Start Virtual Webcam in OBS to start using Hyper and your Vtuber for video calls on Discord and Zoom.
- See this other guide for guidance on streaming: Live-streaming with avatars using OBS
- Installed iTunes
- Run iTunes and plugged the phone in.
- Have marked your computer as trusted on your phone when prompted.
- Replug your USB and restart your OBS
- Make sure you are using a functional USB port
- Try a USB port in the back of your PC
- Use the green background setting and remove the background from your avatar.
- Use the Chroma Key filter on OBS to remove the green background.
- Use the Crop filter on OBS to remove any extra padding.
- Make sure you’ve trusted your device at least once with iTunes. It’s required for iOS to communicate with the PC.
- Ensure you’ve enabled the OBS Plugin in the Hyper OBS Setup panel on the iOS app. It defaults to Disabled automatically when launching it to save resources.
- If OBS Mode is still on and was working before, try unplugging and re-plugging in your cable.
- Try closing and re-launching OBS itself, then opening the Hyper Source options and click Reconnect to device, or Refresh devices
- All about Hyper Online
- Import VRMs and use a custom character
- Setting up Collab Streams
- Use Hyper with Discord Webhooks
- Mirror your VTuber from iPhone to your PC
- Livestreaming with avatars using OBS
- VRM Optimization Guide
Copy both of these folders to C:\\Program Files\\obs-studio\\ and say yes when it asks to overwrite files. It will not actually overwrite anything, it’s just merging the folders with the same names.
3. Connecting to Hyper for iOS
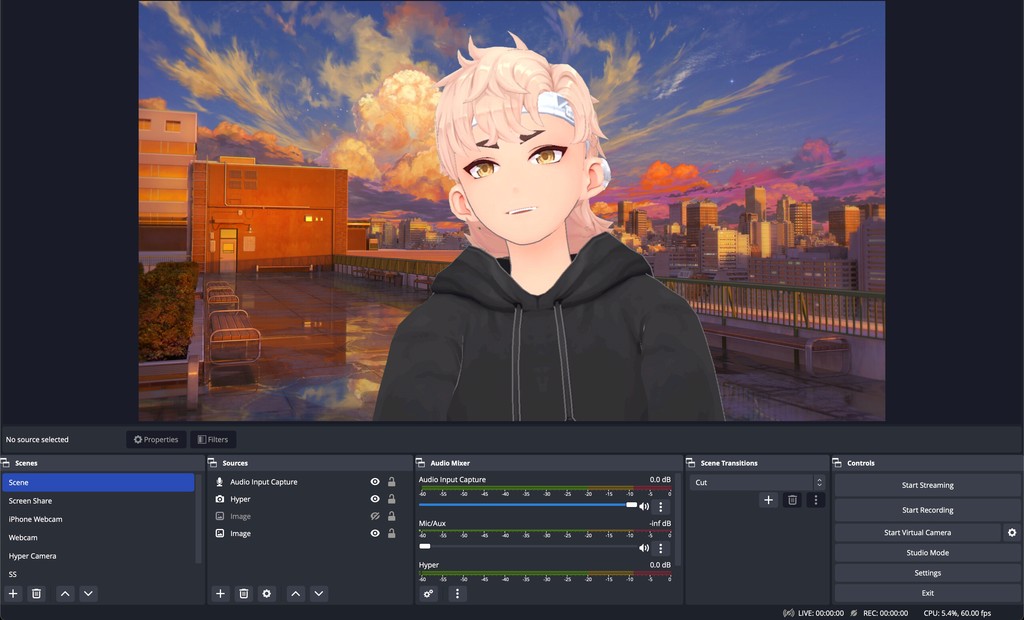
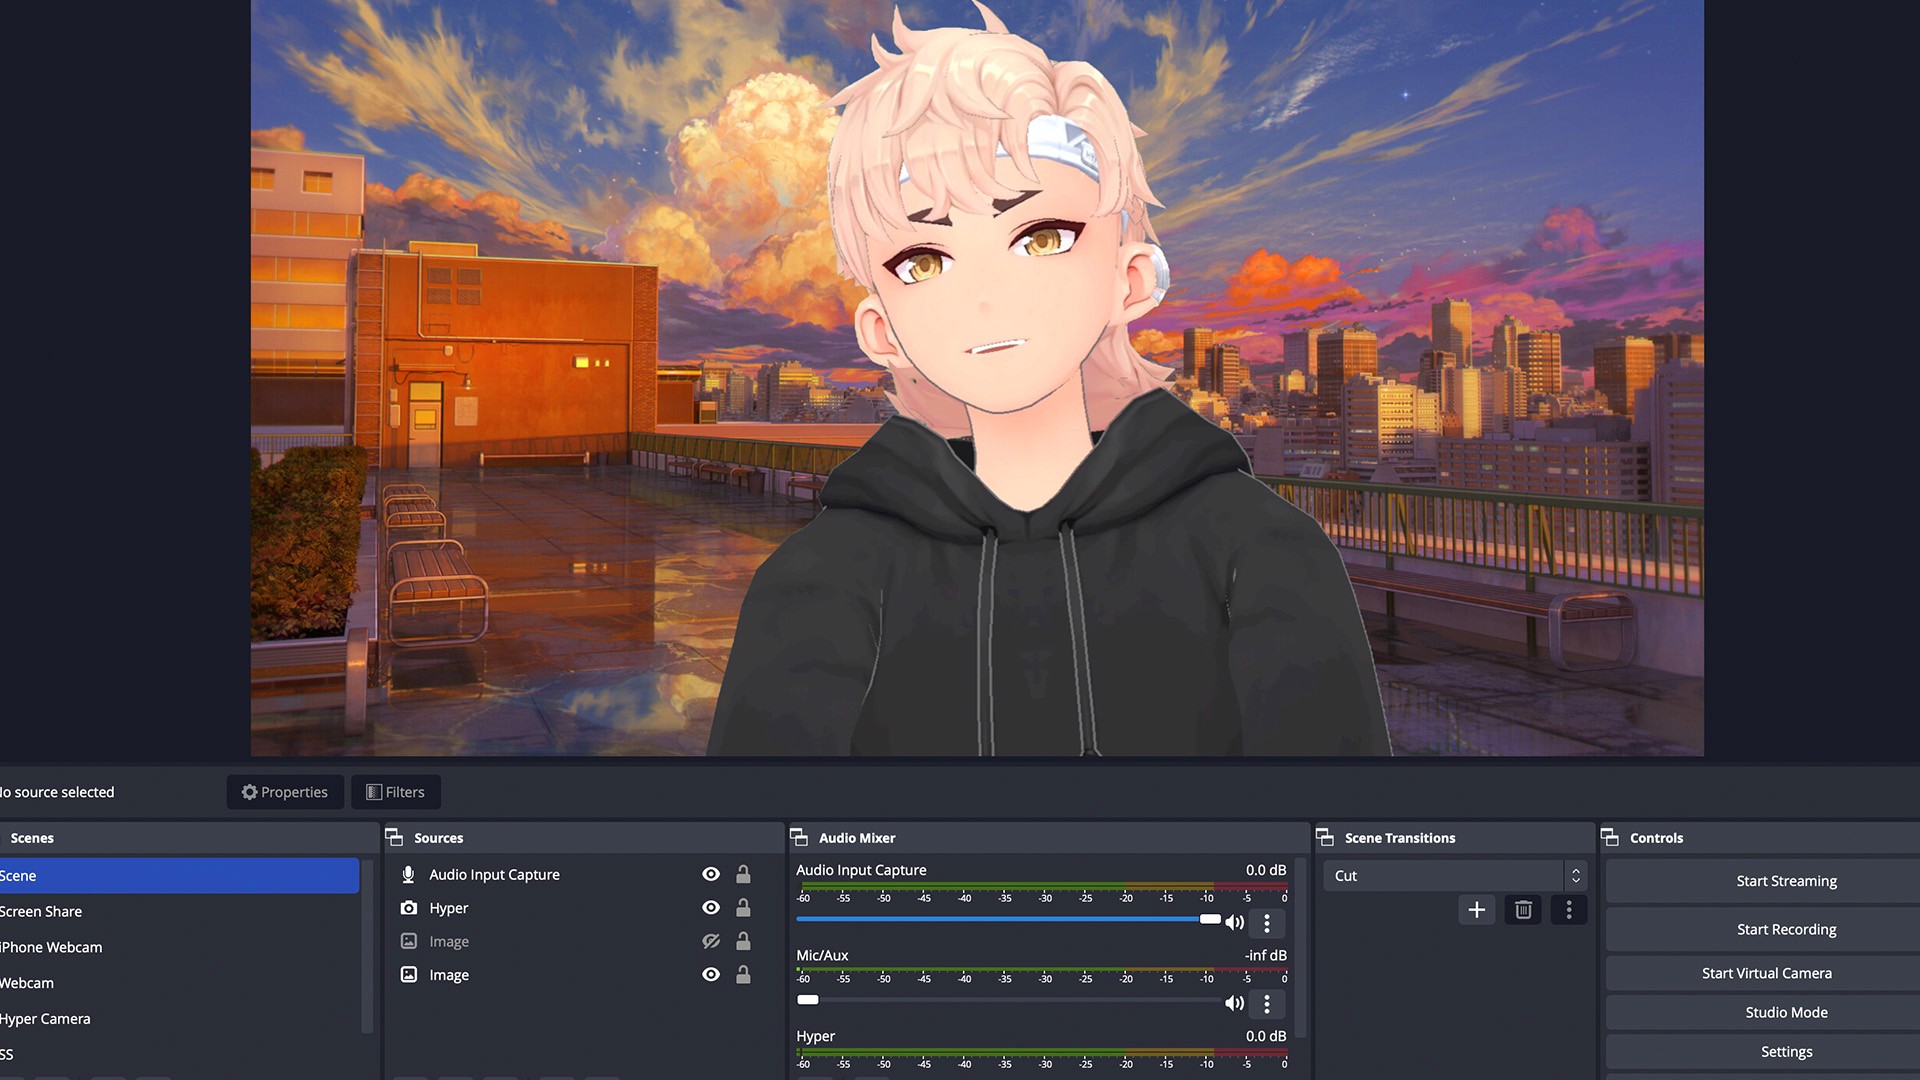
And you’re done! You should now see your avatar mirrored to your OBS scene. From here you can:
Once you’re done, configure your scene to your liking.
Troubleshooting
My device won’t show up!
If you’re able to successfully install the plugin but the device won't show up when you look at the Hyper Source Settings on OBS, make sure you have:
Why are there black bars around my avatar?
The mirroring happens at your phone’s resolution which is usually different from your computer’s. The best way to handle this is to:
Then you should have a clean slate and can and set whatever image you like as your background using an image as another OBS Source.
Here we have an Image source underneath our Hyper source to use as a background image.
I stepped away and my avatar stopped tracking!
If your avatar stops tracking at some point because you’ve stepped away, try tapping the screen. Usually face-tracking stops to save battery and will re-enable when you tap on the screen.
The mirroring stopped working or isn’t starting.
Feedback & support
See you in the Hyperverse.
Additional Guides
You can easily configure Hyper to work with any third party streaming software like OBS or Streamlabs. To learn more, check out our guides: